If you use Google Spreadsheets for personal budget management and also like to get things done from the command line as much as possible, I have some good news for you. I’ve built a CLI app to insert transaction entries in monthly budget spreadsheets with simple commands from CLI. Today I’ll be walking you through the process of building this app.
Monthly Budget Spreadsheet
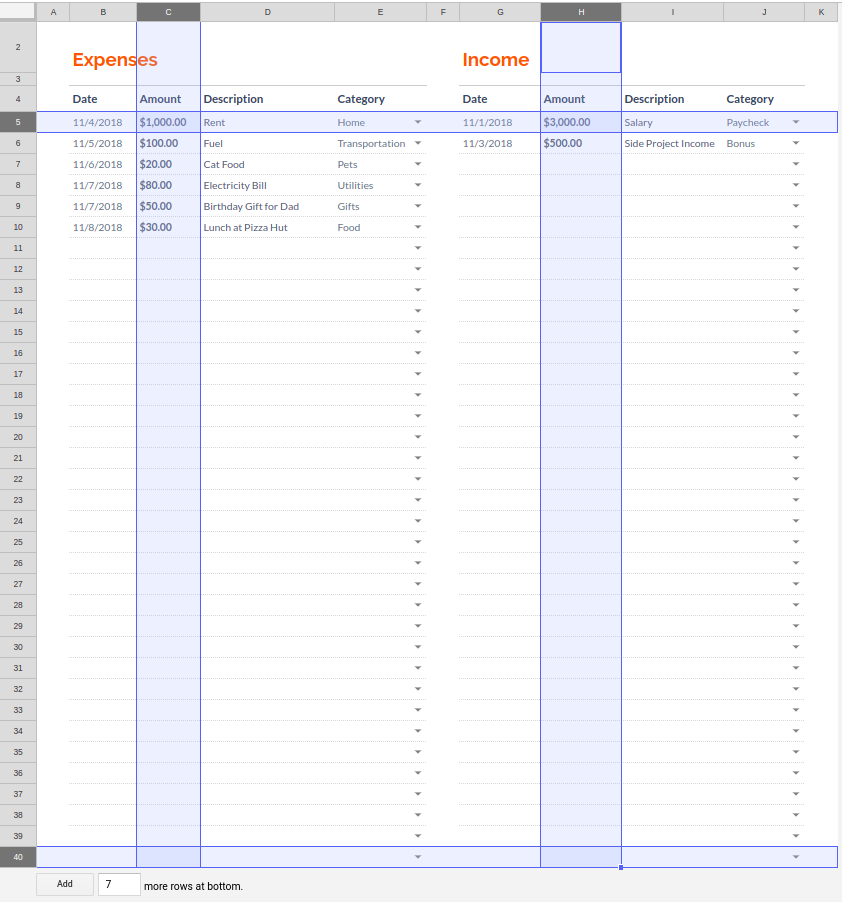
If you don’t have one already, you can go ahead and create a monthly budget template from the spreadsheet template gallery. You can also check out the sample budget sheet that I’ve created to see what it looks like. It’s made up of two pages (sheets):
- Transactions page lets you insert expense & income entries.
- Summary page lets you keep track of your budget.
The main purpose of this tool is to let you insert entries in Transactions page from CLI, saving you the trouble of opening the actual spreadsheet in a browser.

Preliminaries
A spreadsheet URL looks like this:1
https://docs.google.com/spreadsheets/d/<SPREADSHEET_ID>/edit#gid=<SHEET_ID>
Take note of this URL or just the SPREADSHEET_ID after you’ve created a spreadsheet because you’re going to need it later. For example, the ID of my sample budget spreadsheet is 186YX-RyEyz5OcTsoI4QwIyJJMuZVc5MNTYIrF62ztiI.
Then you have to simply follow the first 2 steps of this guide which involve
- creating a console project to enable the Google Sheets API:

- downloading a
credentials.jsonfile for authorization:
- installing the Google Client Library:
1 | pip3 install --upgrade google-api-python-client oauth2client |
Authorization
The next step is to generate an authorization token to access your spreadsheets. The script below will open up a browser and request permission from your Google account to generate a token.json file from credentials.json:
1 | from oauth2client import file, client, tools |
This token needs to be created only once, so it’s a good idea to do it as part of the installation procedure of the app. Let’s create an installation script and run createtoken.py as the first step:
1 | python3 createtoken.py |
Before inserting a transaction entry, our app needs to read token.json and authorize. So let’s create the main script and add this authorization step:
1 | #!/usr/bin/env python3 |
Commands & Parameters
Our app will have 4 commands:
- Select Spreadsheet by ID
- Select Spreadsheet by URL
- Append Expense
- Append Income
And here’s how each command is going to be executed by the user:
1 | # select spreadsheet by ID |
Date, Amount, Description and Category parameters are the values to be inserted in Transactions page at
- columns
BtoEfor expense entry, and - columns
GtoJfor income entry.

In order to recognize these commands and parameters, some argument parsing has to be done in budget.py:
1 | #!/usr/bin/env python3 |
Notice that SPREADSHEET_ID is written to a file named spreadsheet.id whenever one of the id or url commands is executed. And this file is read while processing the expense and income commands in order to access the selected spreadsheet.
Transaction Entry
First of all, row and column indices of the last entry has to be determined in order to append a new one. To do that, we read rows 5 to 40 from column C or H (depending on the command) and check the number of existing entries. Here 5 is the minimum row index that a transaction can be inserted, and 40 is the index of the last row in the Transactions page. (You should set this to the total number of rows in your sheet.) Then we store the row index to insert a new entry for the current transaction type in a variable called rowIdx:
1 | rangeName = 'Transactions!C5:C40' if command == 'expense' else 'Transactions!H5:H40' |

Finally we update the corresponding cells with date, amount, description & category parameters stored in the entry variable:
1 | startCol = "B" if command == 'expense' else "G" |
Installation
Now we have budget.py ready in our project folder. However, it has to be executable from any directory via CLI. Therefore we need to make sure that it’s in a directory referenced by the PATH environment variable, such as /usr/bin/.
On the other hand, token.json and spreadsheet.id files do not have to be in PATH. They should be located somewhere owned by the user such as ~/.config/budget-cli/ so that they can be accessed without sudo permission.
We’re going to copy budget.py and token.json in install.sh, and spreadsheet.id will be created inside ~/.config/budget-cli/ automatically when the budget id or budget url command is executed for the first time:
1 | # create token from credentials |
Notice that I’m renaming budget.py as budget while copying it because I want to use the app like
1 | budget <command> <params> |
as opposed to
1 | budget.py <command> <params> |
Note that this wouldn’t be possible without the first line in budget.py, which is:
1 | #!/usr/bin/env python3 |
By the way, let’s not forget to create an uninstallation script to clean up:
1 | sudo rm -f /usr/bin/budget |
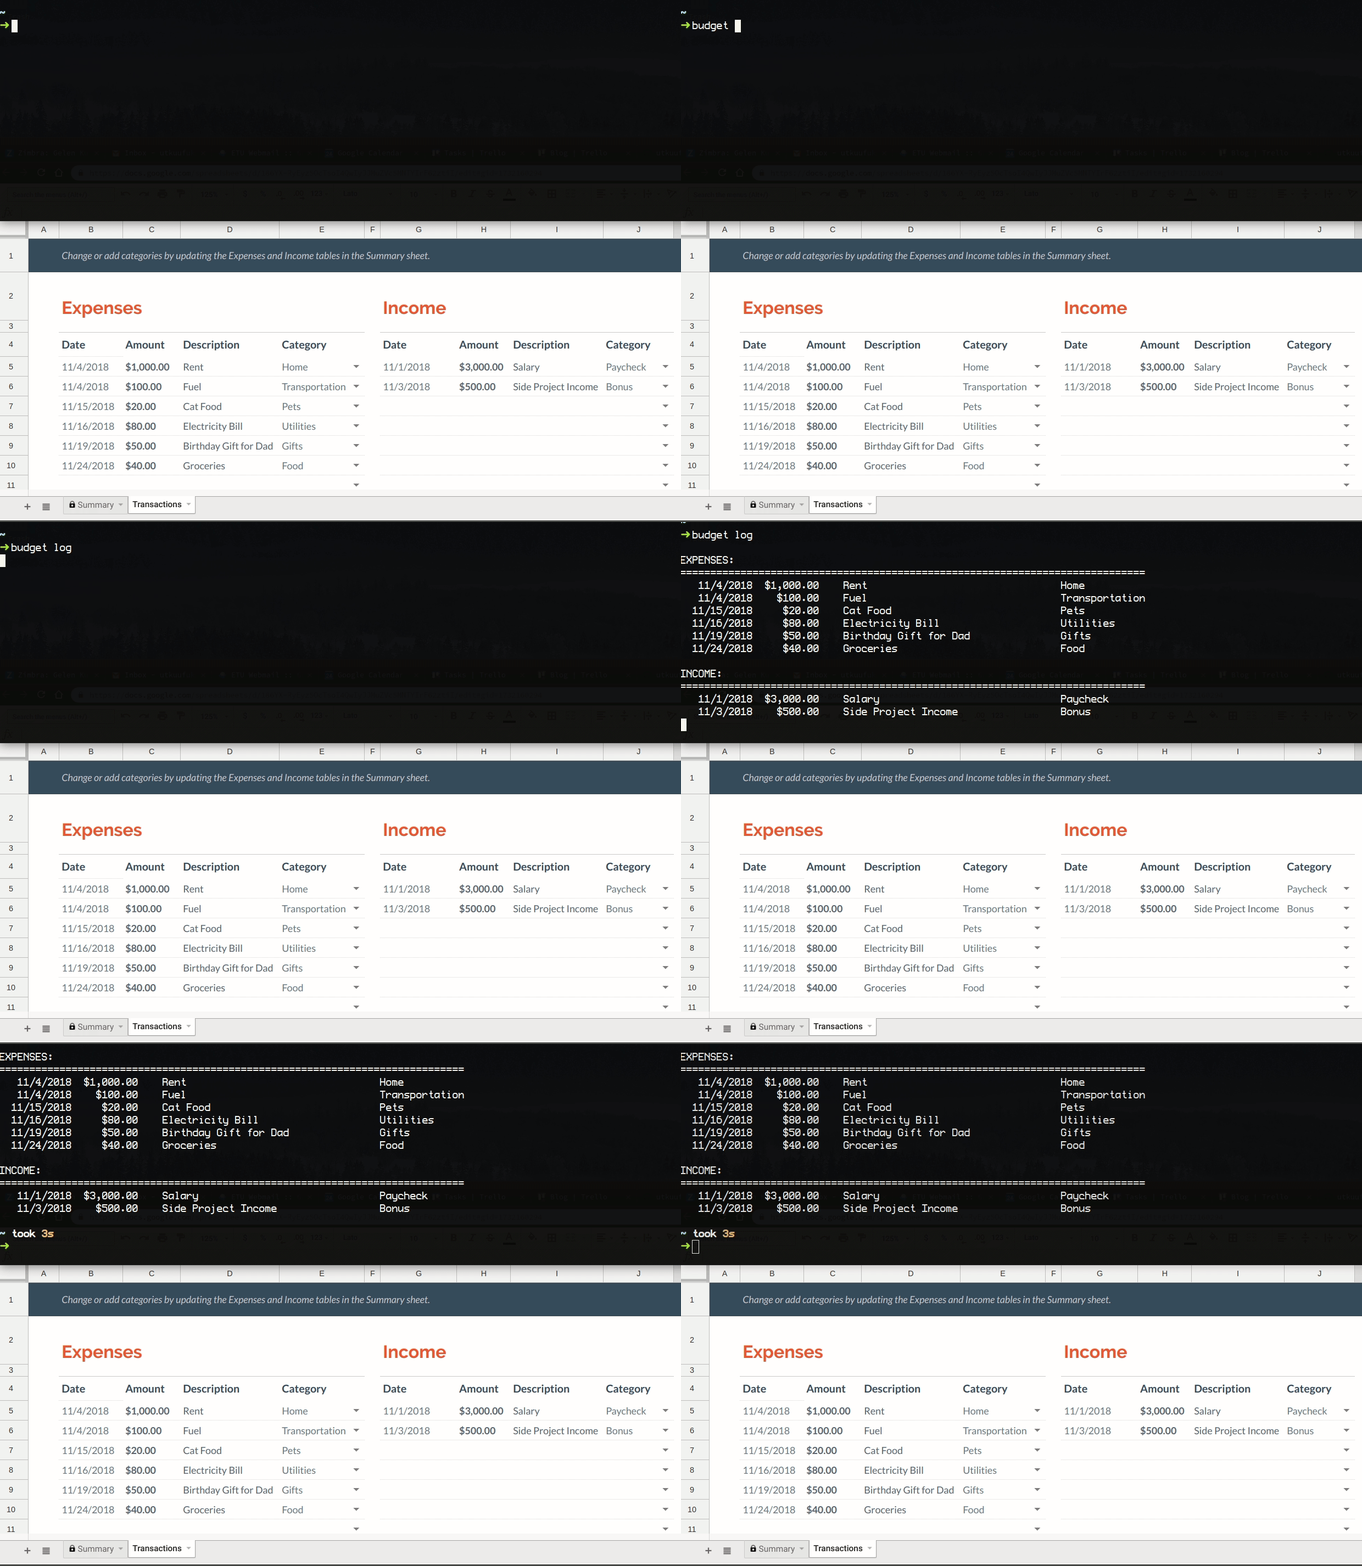
Last but not least, we have to slightly modify the file I/O lines in budget.py taking into account the global file locations. You can find the polished and up-to-date version of it in the Github repository. The latest version also has new cool features like logging the transaction history:

That’s it! Just run ./install.sh from the project folder and you should be able to use the app. I hope you enjoyed this little walkthrough. If you’re still here, you should subscribe to get updates on my future articles.